
PS. What prompted me to write this article is that in reality, for Russian speakers there is very little information on setting up the environment and developing the odoo ERP system.
Odoo (former Tiny ERP , OpenERP ) - ERP - And CRM -system developed by a Belgian company Odoo S.A. Distributed under license LGPL . Get acquainted with this ERP, CRM.
This manual will be based on the fact that you have a clean Ubuntu 22.04.
sudo apt updateLet's install Python, the necessary utilities, auxiliary libraries for compilation, PostgreSQL server and client:
sudo apt-get install -y python3-pip python3-venv git libldap2-dev libpq-dev libsasl2-dev xfonts-75dpi postgresql postgresql-client By default, the only user in PostgreSQL is postgres, but Odoo does not allow you to connect as postgres, so you need to create a new PostgreSQL user:
# Заходим от пользователя postgres для управления базой данных
sudo su - postgres
# Создаём нового пользователя, попросит ввести пароль,
# не забудьте его для дальнейшей работы, я поставлю пароль odoo16
createuser --createdb --username postgres --no-createrole --no-superuser --pwprompt odoo16
# Заходим в консоль управления базой данных
psql
# Даём права суперпользователя на odoo16
ALTER USER odoo16 WITH SUPERUSER;
# Выходим из консоли
\q
# Выходим из терминала пользователя postgres
exit
A cloneable repository
git clone https://github.com/odoo/odoo.git --depth 1 --branch 16.0 --single-branch odoo16Go to the directory created when cloning the repository
cd odoo16Let's create a virtual environment :
python3 -m venv venv-odoo16Activate the virtual environment and install dependencies to run odoo
source venv-odoo16/bin/activate
pip install -r requirements.txt
Let's install Wkhtmltopdf to print reports in odoo:
sudo wget https://github.com/wkhtmltopdf/wkhtmltopdf/releases/download/0.12.5/wkhtmltox_0.12.5-1.bionic_amd64.deb
# установим зависимости для wkhtmltox
wget http://archive.ubuntu.com/ubuntu/pool/main/o/openssl/libssl1.1_1.1.1f-1ubuntu2_amd64.deb
sudo dpkg -i libssl1.1_1.1.1f-1ubuntu2_amd64.deb
sudo dpkg -i wkhtmltox_0.12.5-1.bionic_amd64.deb
sudo apt install -f
# Удалим закачанные пакеты
rm -f *_amd64.deb
Let's install web dependencies:
sudo apt-get install -y npm
sudo ln -s /usr/bin/nodejs/usr/bin/node
sudo npm install -g less less-plugin-clean-css
sudo apt-get install -y node-less
Install Pycharm
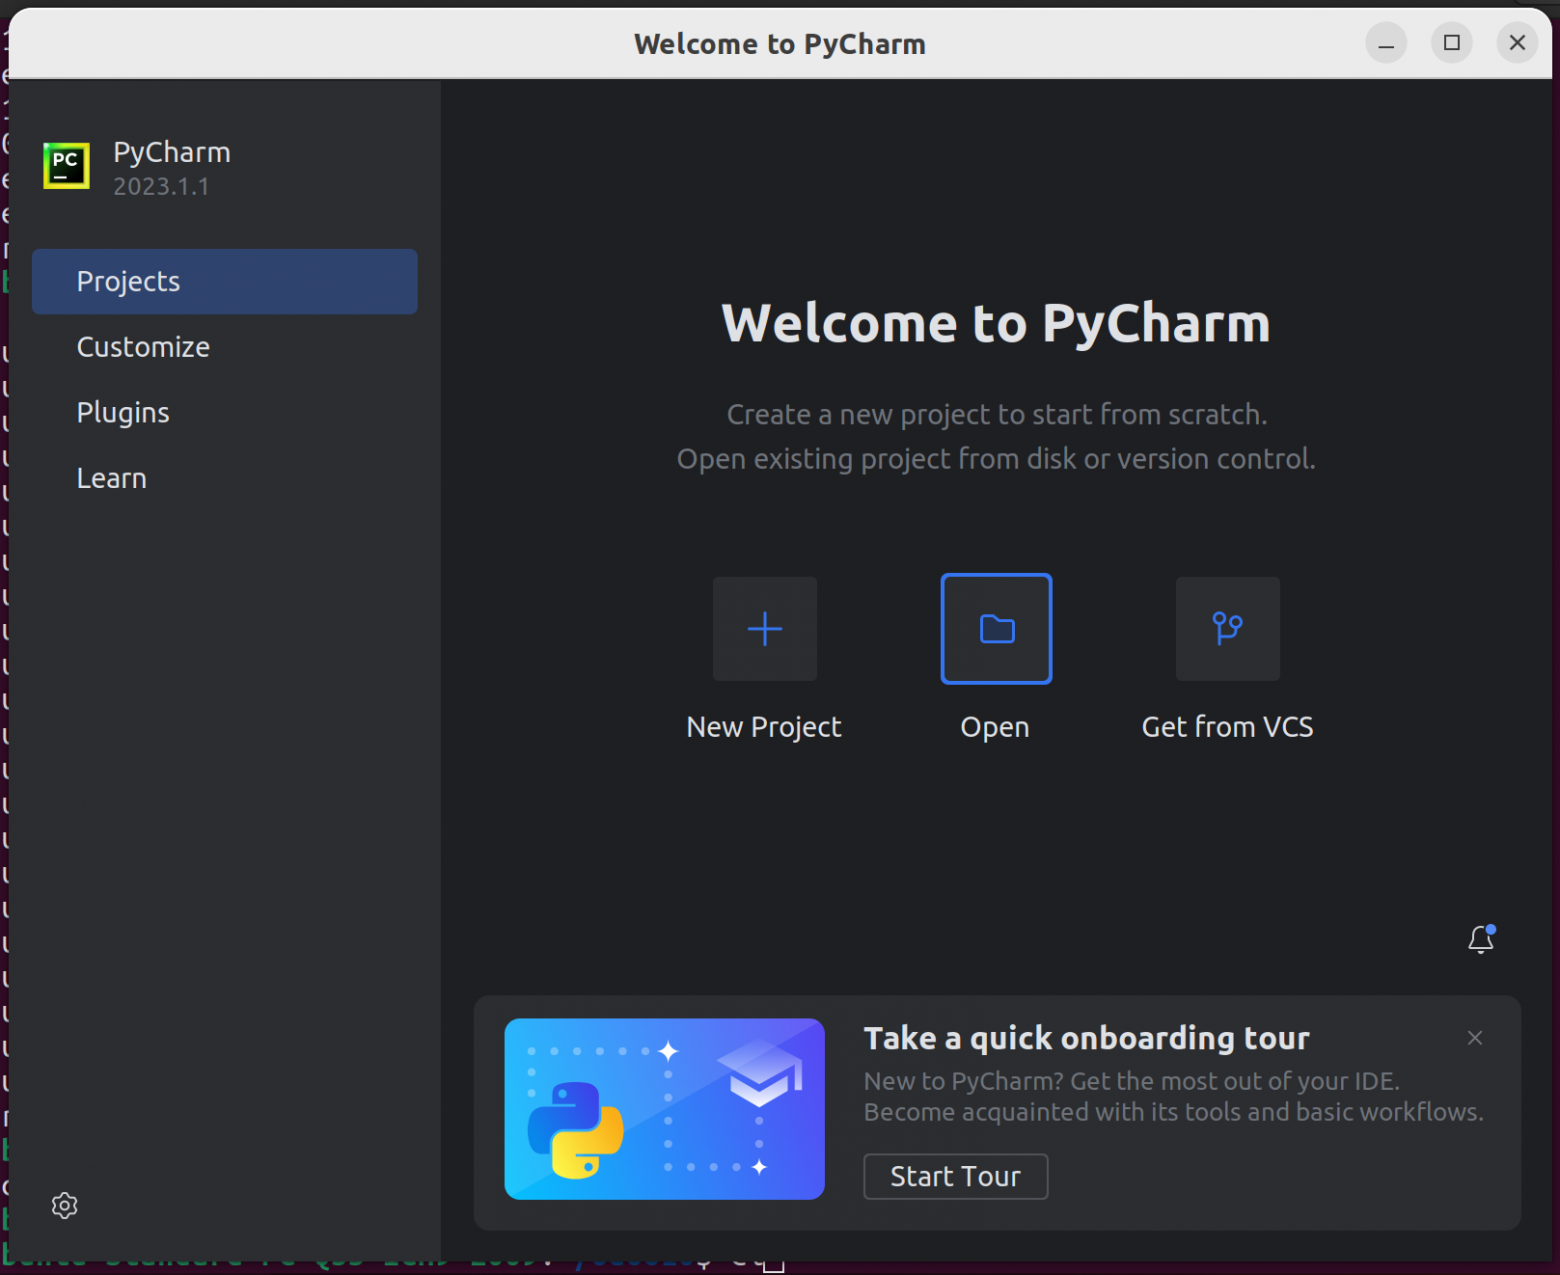
sudo snap install pycharm-community --classicLaunch Pycharm, select Open
In the pop-up window, select the directory with odoo:
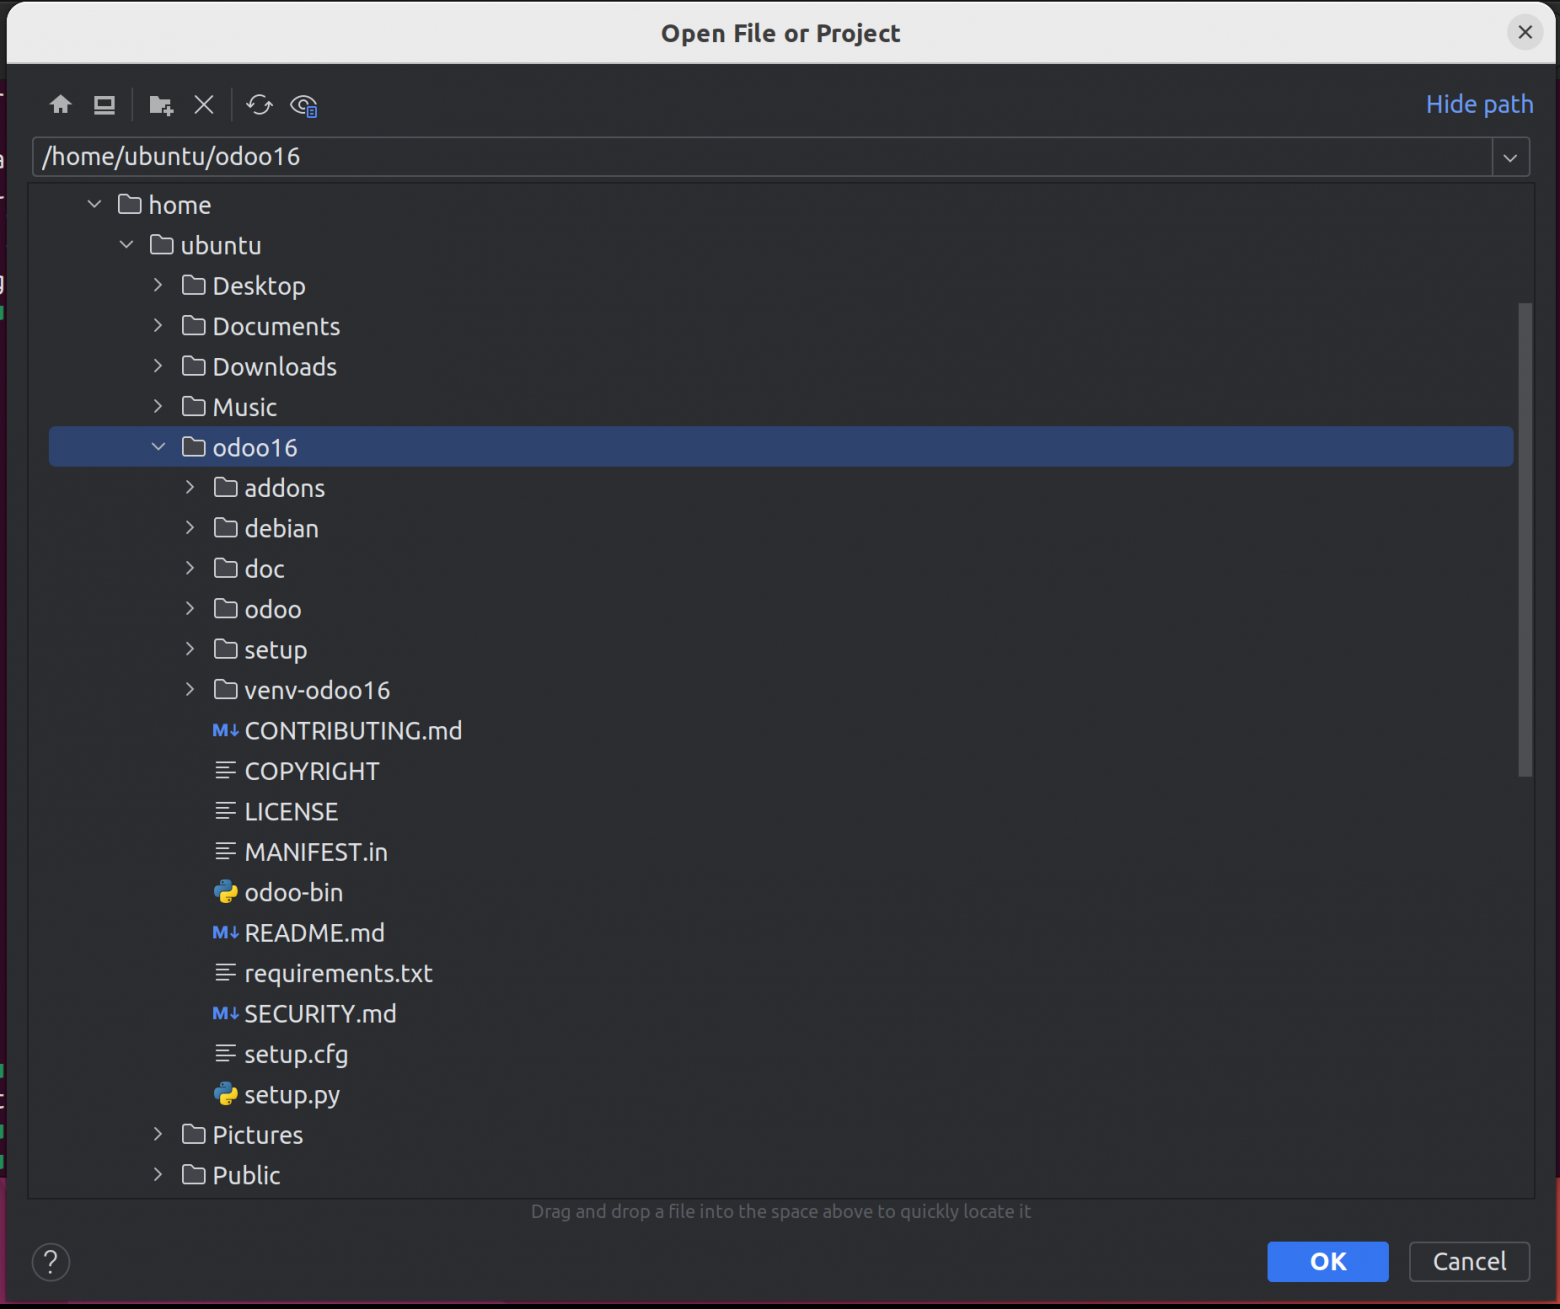
Click OK
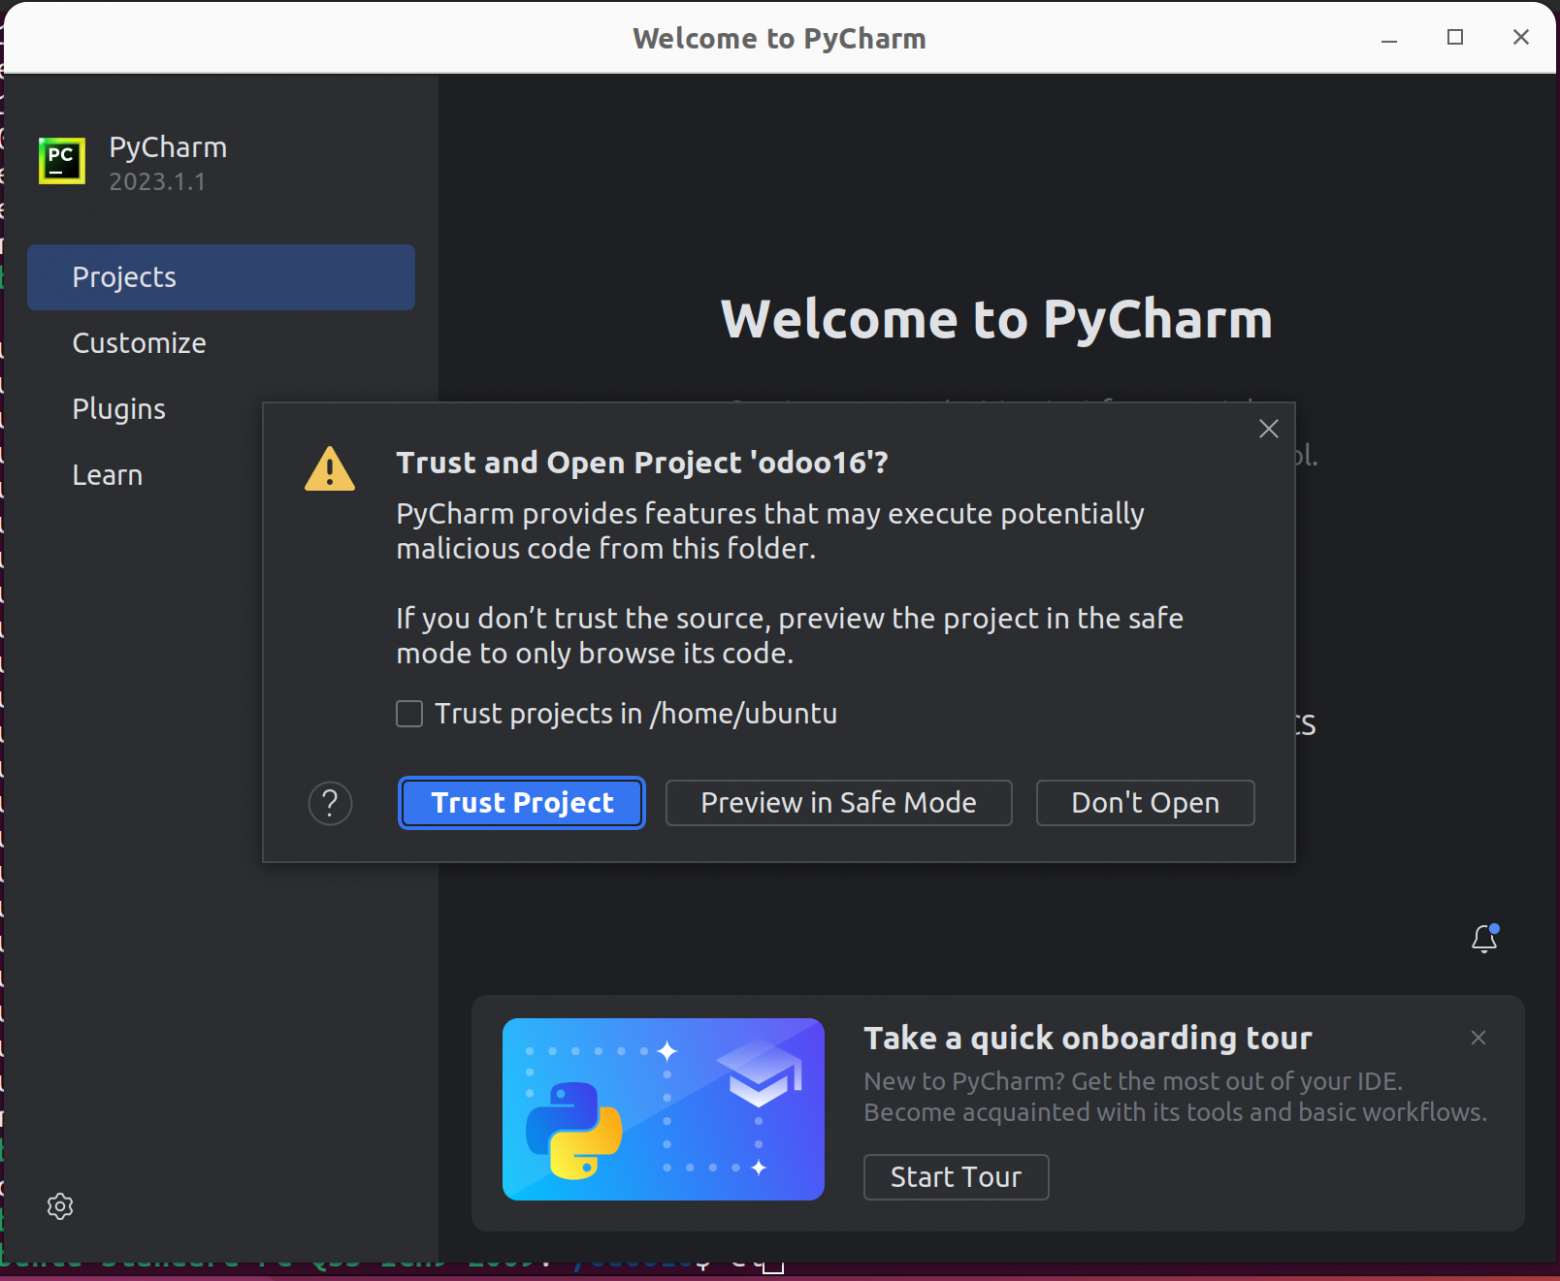
Next, click Trust Project
Next, we wait for the files to be indexed (the loading scale is located at the bottom next to the Indexing module 'odoo16') in our project and wait for python to come up from our virtual environment as the project interpreter.
We create an additional directory (at the root of the project) for our future custom modules:
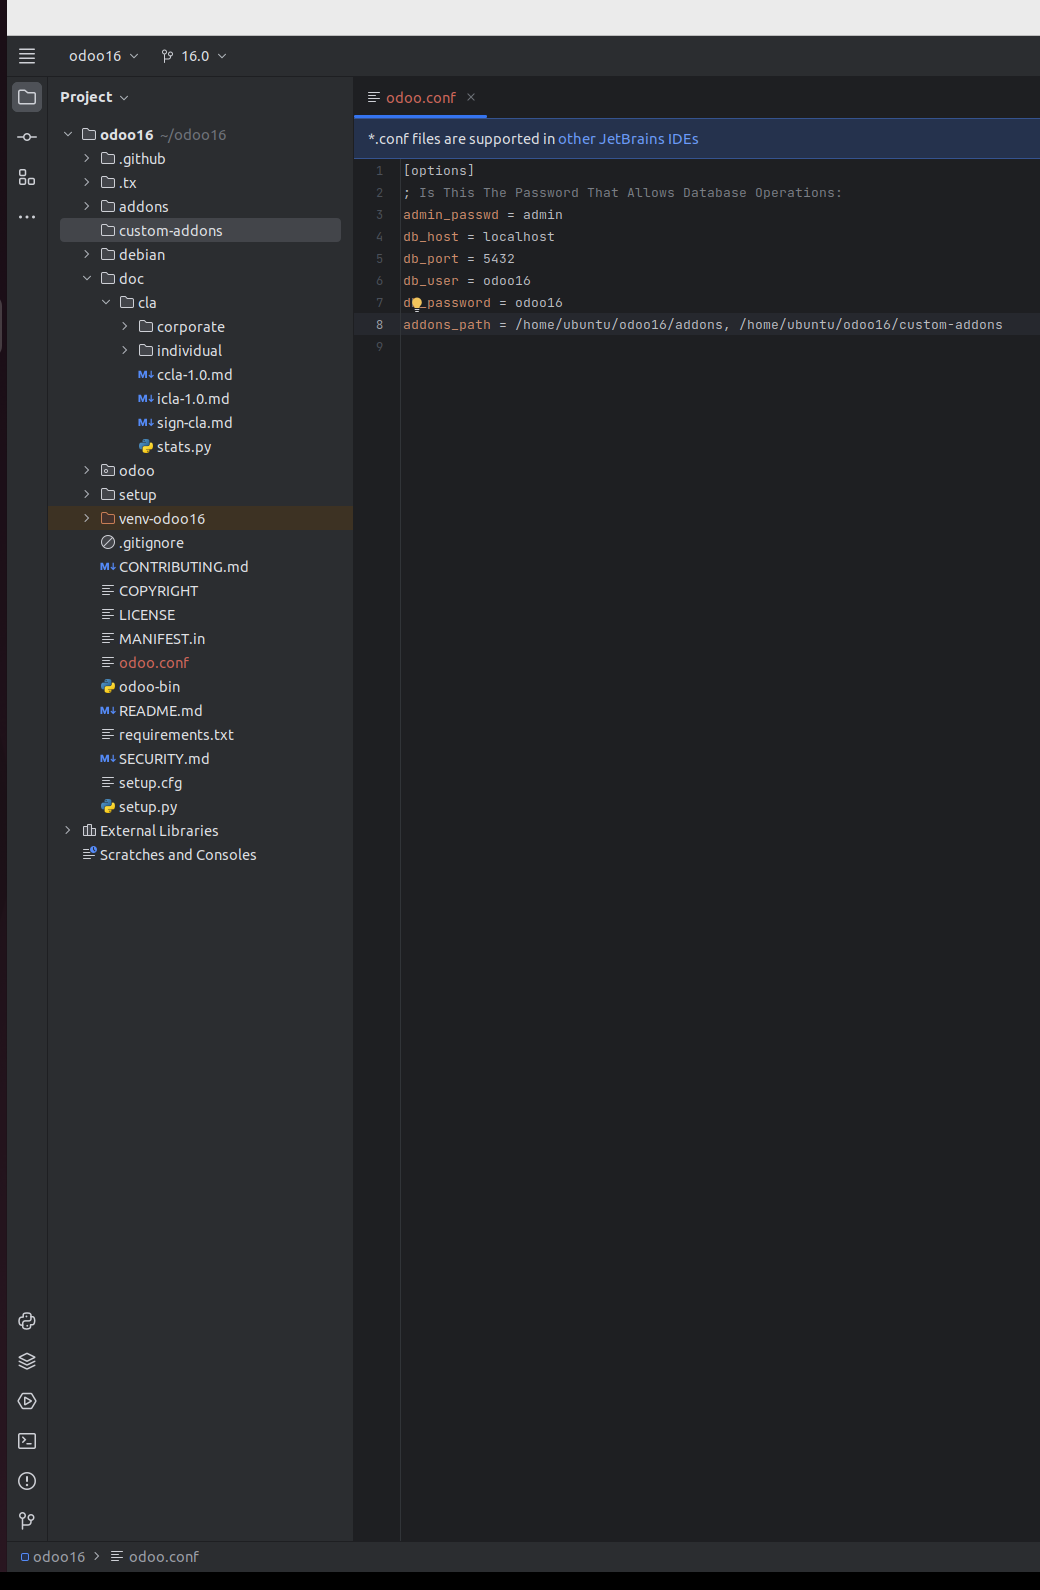
Next, create a configuration file (in the project root) to launch:
And insert the following parameters into the configuration file
[options]
admin_passwd = your_password
db_host = localhost
db_port = 5432
db_user = odoo16
db_password = odoo16
addons_path = path/to/your/addons, path/to/your/custom-addons
The result should be as follows:
! IMPORTANT, do not forget to change the password in the admin_passwd line and remember it, we will need it later!
! IMPORTANT, do not forget to change the path to the addons directory in ROOT project (not to be confused with addons which are located in odoo/addons) and to the custom-addons directory, specifying it in the config in the addons_path line! You can find out the path to the addons and custom-addons directory by right-clicking on them, then select Copy Path/Reference..., then Absolute Path. Or by pressing Ctrl+Shift+C
Next we move on to setting up the odoo launch configuration in pycharm
Click on the arrow next to Current File in the upper right corner and then select Edit Configurations...
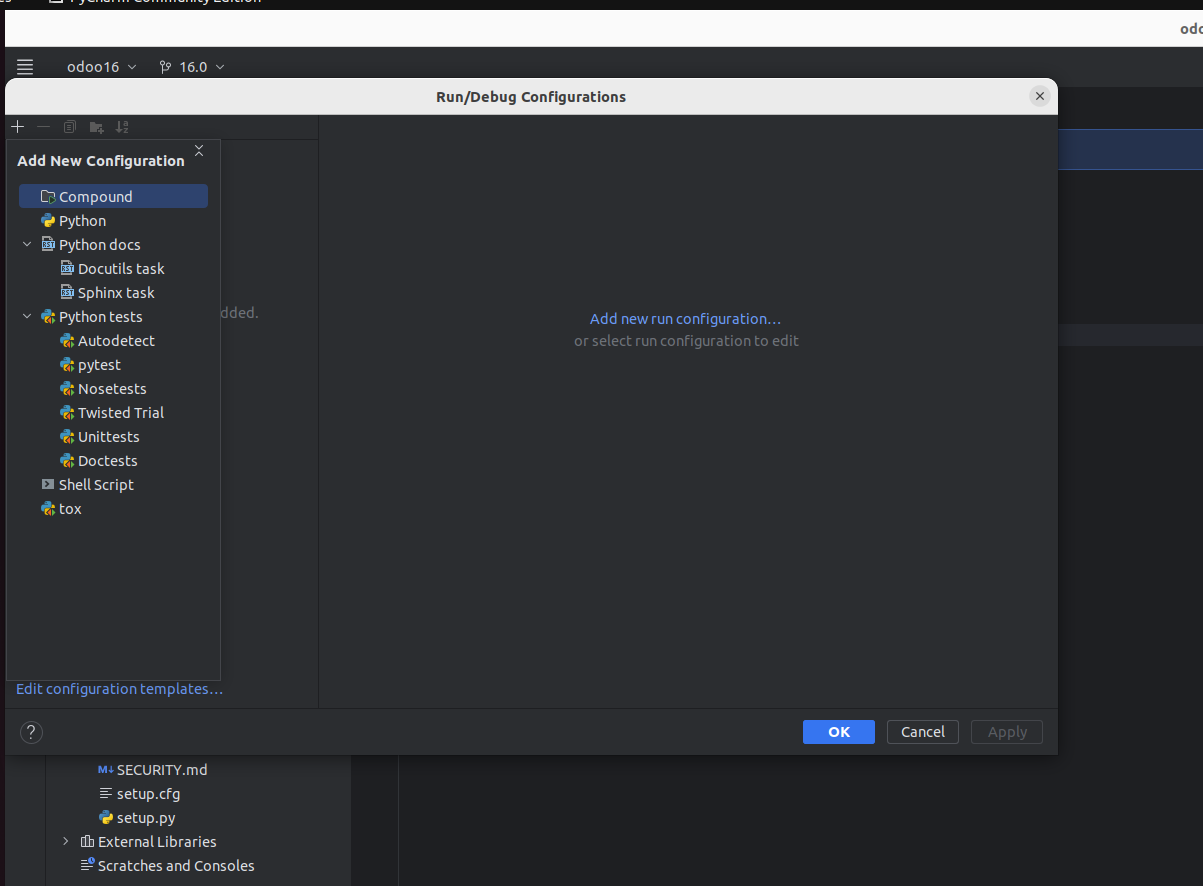
In the pop-up window select Python
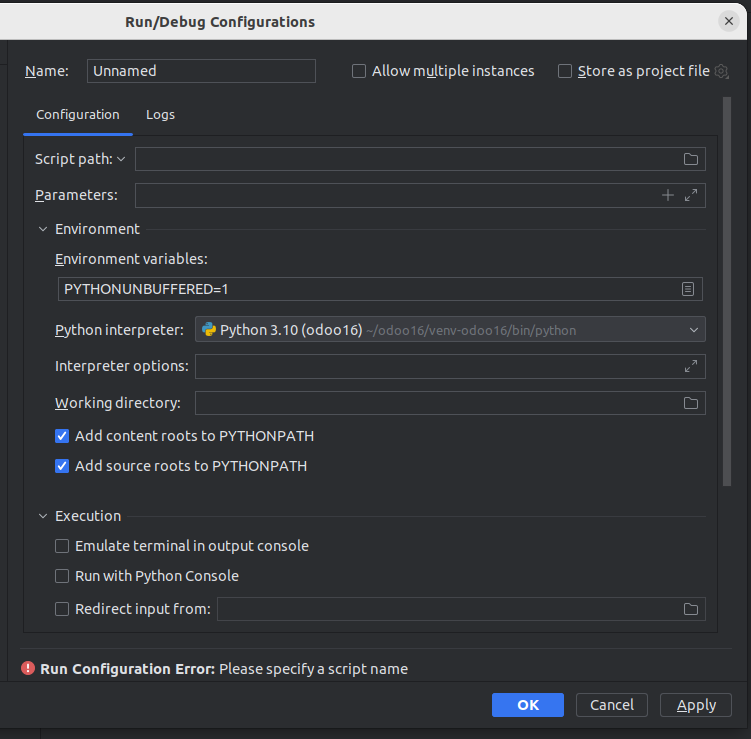
Specify the Script path to the odoo-bin file in the root of the odoo16 directory
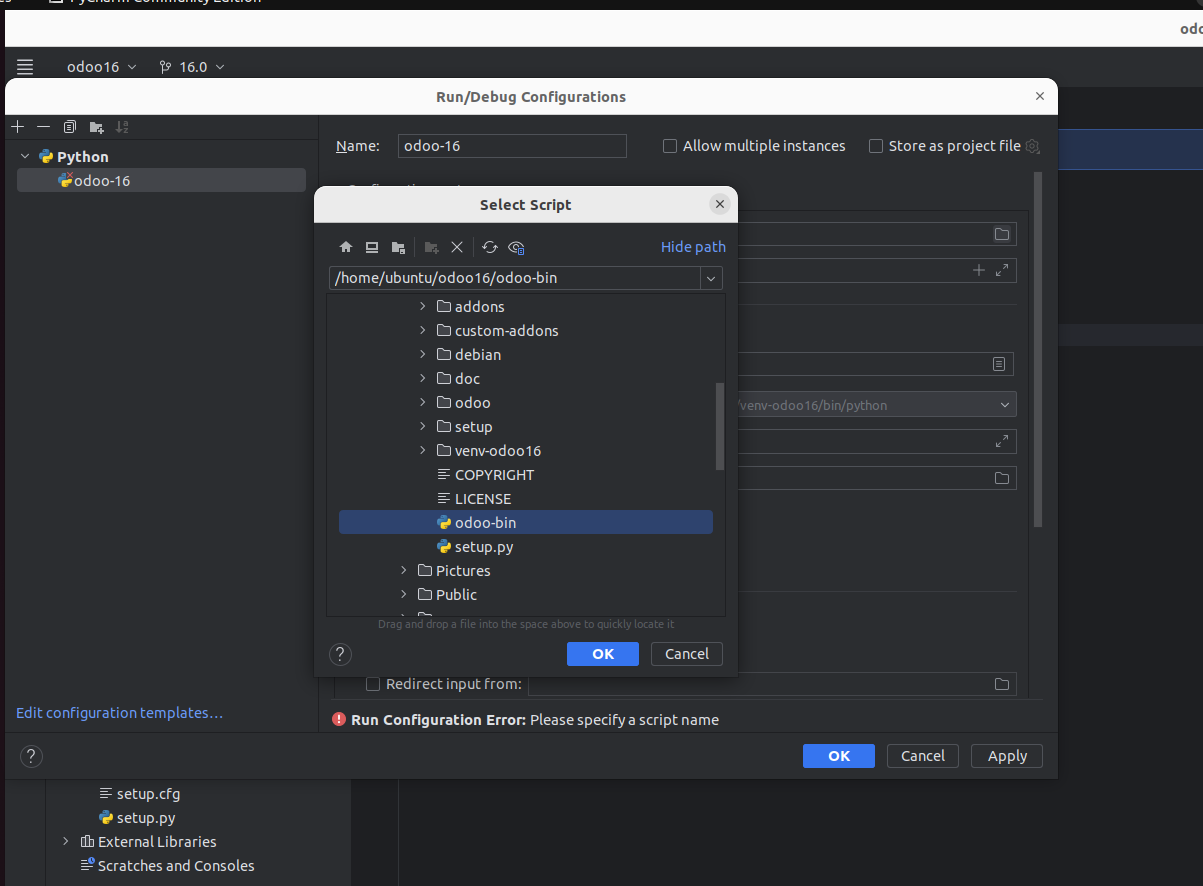
Next we enter in Parameters:
-c odoo.confThus indicating which config we will use to launch
Select Python Interpreter (if it is not automatically picked up)
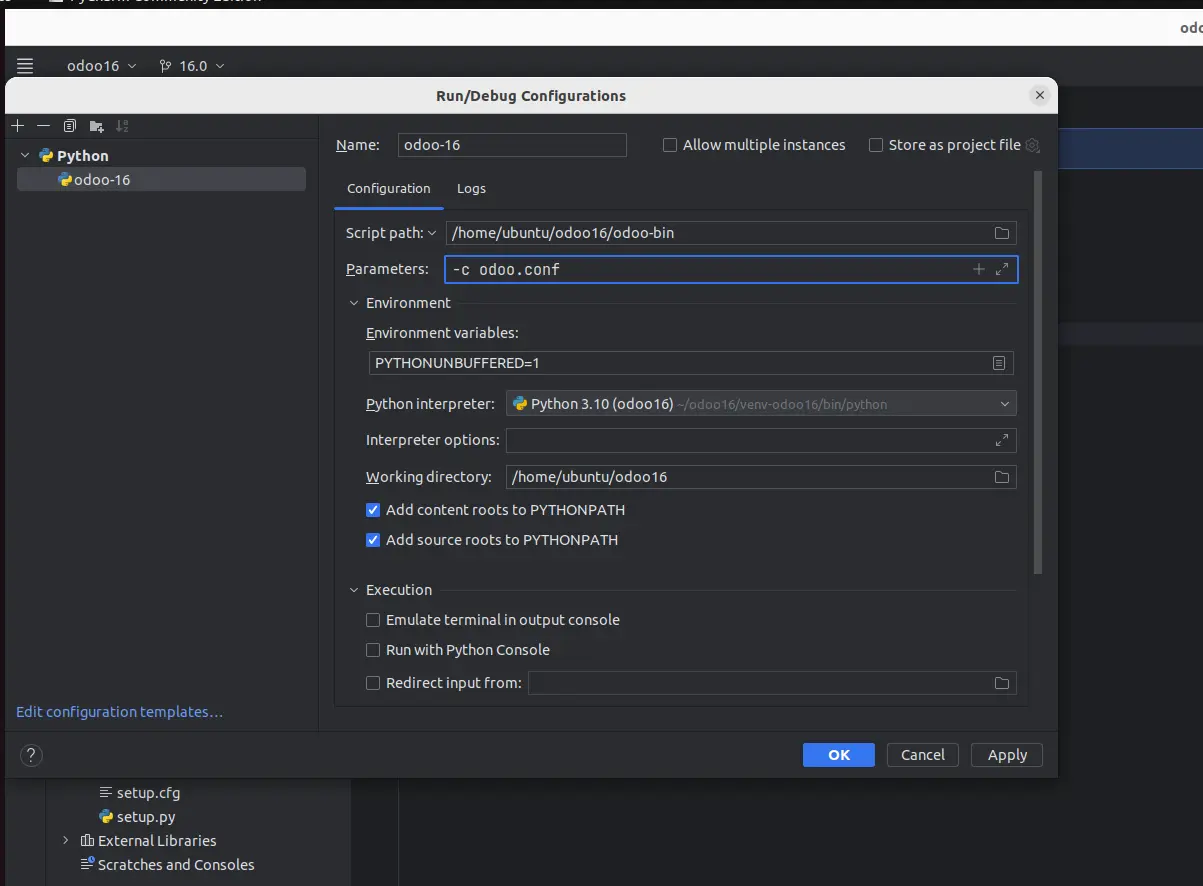
Specify the Name as desired and click Apply and OK
Launch odoo16 by clicking on the green triangle next to odoo-16 (you may have a different config name)
We see the logs that appear in the terminal:
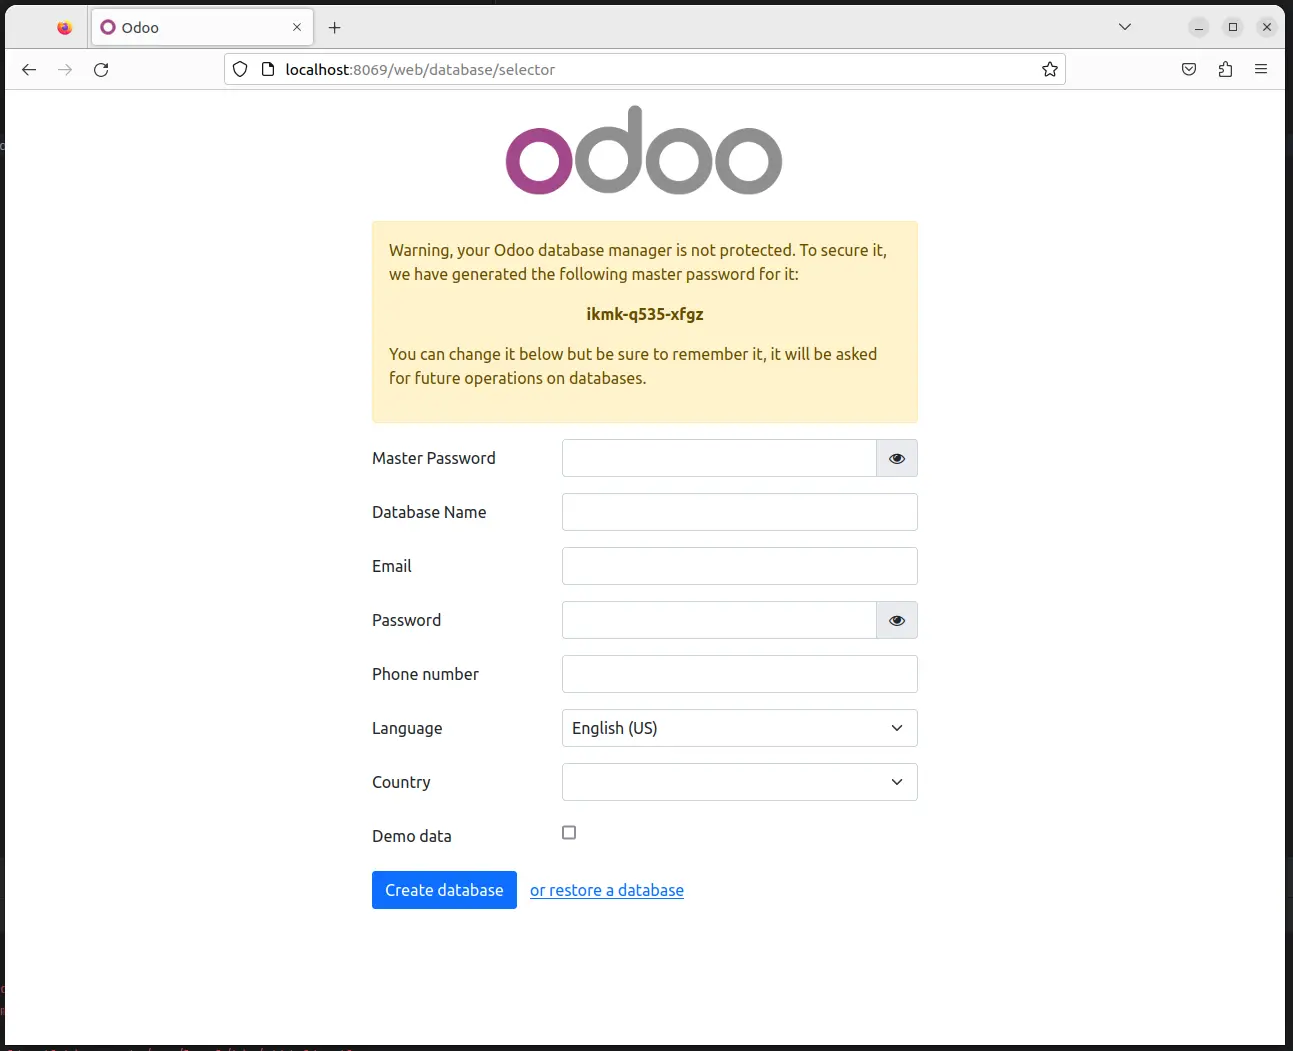
Go to the browser by URL http://localhost:8069
Entering data
Master Password we indicate the one that was specified in the config in the admin_passwd line
The rest of the data is at your discretion, you can also download demo data and change the language, but I will leave everything as in the screenshot and continue by clicking Create database
In the window that appears, log in using the previously specified data
Login
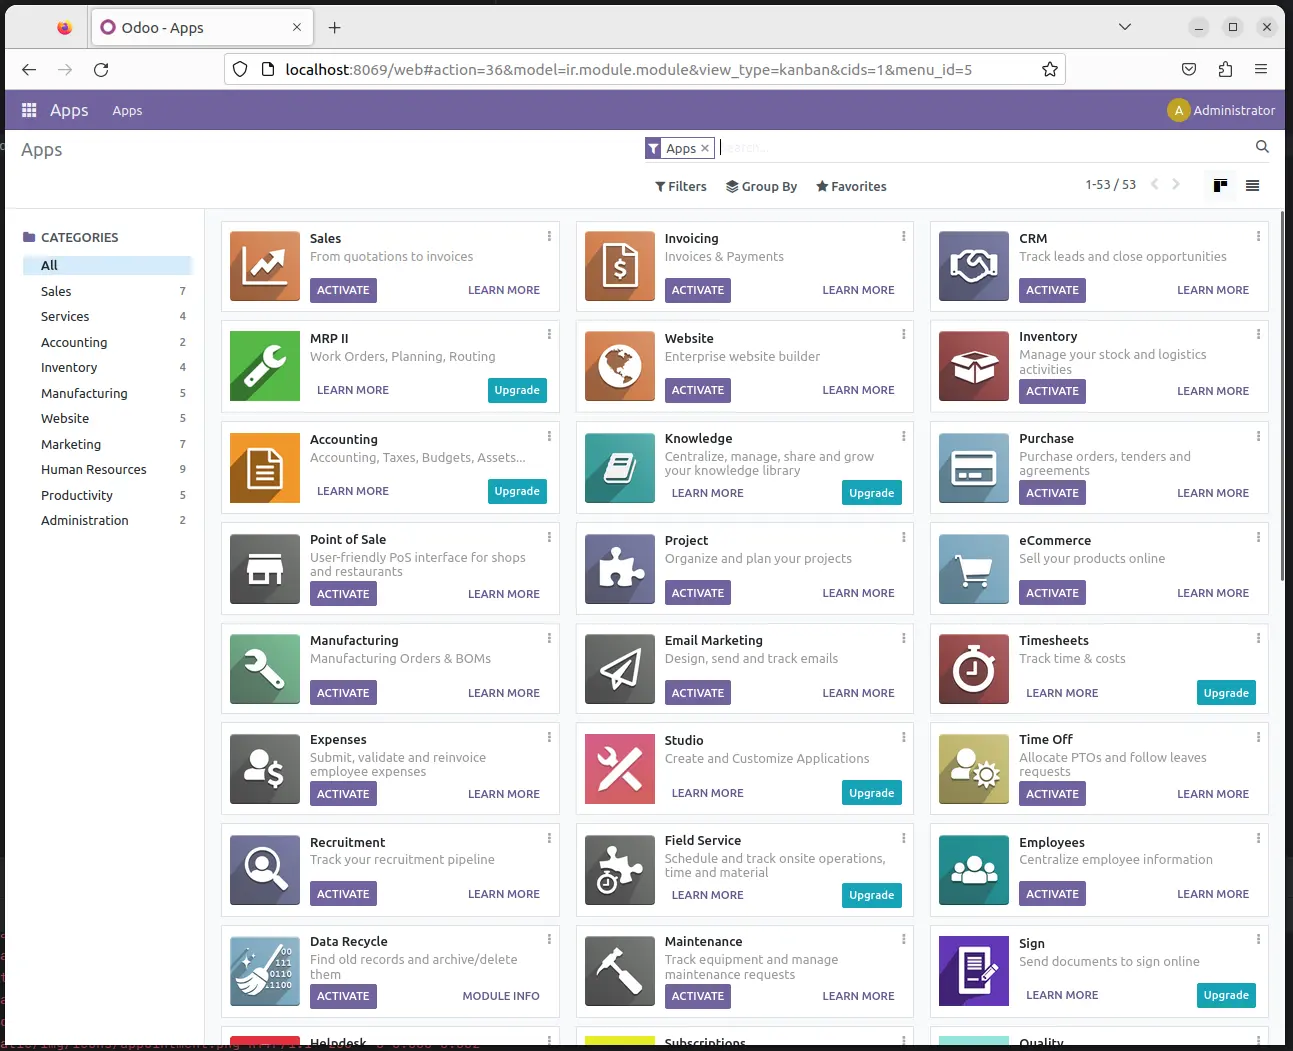
The setup is complete. You can start using ERP/CRM Odoo version 16.0
Top 5 Programming Languages to Dominate 2025: Data-Driven Insights for Developers
Top 10 AI Models Revolutionizing Industries Today

 Top 5 Best Graphics Cards for 2025: Power, Performance, and Value
 Top 5 Programming Languages to Dominate 2025: Data-Driven Insights for Developers
 Hidden Markov Model for Trading Using Python